The path to producing great photography isn't easy. First, you have to learn what your camera can do and then train your brain to think better than the camera. This alone can take years to master but worth the effort. Shooting by manual and a feeling on how the histogram works will launch the quality of what you shoot.
Likewise, editing your photos will take equally if not a longer time to master. There are many combinations of sliders and tools in Adobe Lightroom. Experience is the only way to learn. Trial and error. Testing what you want your photo to look like vs the infinite combinations of settings can be daunting. There is no magic program to produce a winning photograph, time is the only way.
Having said that, there are tools for accelerating your experience. Presets are recipes for Adobe Lightroom. Study photography long enough and you should have a large set of your own presets that represent your personal style or workflow. I have a ton saved that reflect my experiments in mimicking a look or setting a specific tone. Some of my personal presets reflect corrections to files produced from various cameras to keep a continuous look to my work.
You can buy many presets today, installation is easy. The beauty of getting behind a preset maker you like is how they can shift your mind around a look or affect you may want in a photo. Sleeklens is a maker of a set of presets I often go to when I'm not yet sure how I want to edit my photos. Sleeklens offers a great range of Lightroom and Photoshop "workflows" for you to play with. Today I'm playing with and reviewing the Sleeklens "Through the Woods" presets for landscapes.
These are more than presets, these are workflows. Meaning, they offer incremental presets that address different areas of editing a photo. Each building on each other and addressing specific areas of the editing process. Starting with an overall look or "All In One." Then base looks like "Basic Film" and "Auto Tone (B&W) or "Auto Tone (Color). After that, moving to bulk Exposure presets like "Brighten" and "Darken." Basic color corrections like "Deep Blue Skies." Next, you can move on to Tone/Tint where you can play with split toning and color of the photo. Finally, you can "Polish" the photo off with various clarity and contrast presets. At the final step, adding a "Vignette."
It needs to be reiterated that I am not a fan of using presets and walking away. You have to be part of your process, without your brain and growing experience your photos will not look as good as you think. Tools like Sleeklens Through the Woods are great for sparking the imagination and helping you to narrow down what you want to express. Spend time after you hit a preset you like to refine the sliders more. Be careful of oversaturating and over adding clarity to your photos. Presets or not, we have a tendency to overdo it. Think smooth and subtle.
Sleeklens offers presets for both Lightroom and Photoshop, depending on how you have your workflow setup. They also offer what I consider to be far better than presets, custom adjustment brushes. The ability to fine-tune areas of your photos is where the real work is. If you had any time in a darkroom in your past, you know how powerful and needed dodging and burning is. With the adjustment brushes, you can tweak small areas of your work. It's completely worth a try. In fact, more often than not it's the brushes that get used more than the global presets for a look.
The folks at Sleeklens have done a great job of providing a range of workflow tools and fine-tuning instruments for any of your editing needs. Do not get hung up on using these tools as your easy button and publish award-winning photography. That comes from expressing what you see and not someone else. Speed up your process by using these tools to narrow down what you want to express. Build your frame of reference on how to get your ideas from your brain onto your photography.
Finally, don't worry about where to start, Sleeklens does a great job of providing example workflows. Play with everything, find what you like, and fine-tune your vision.
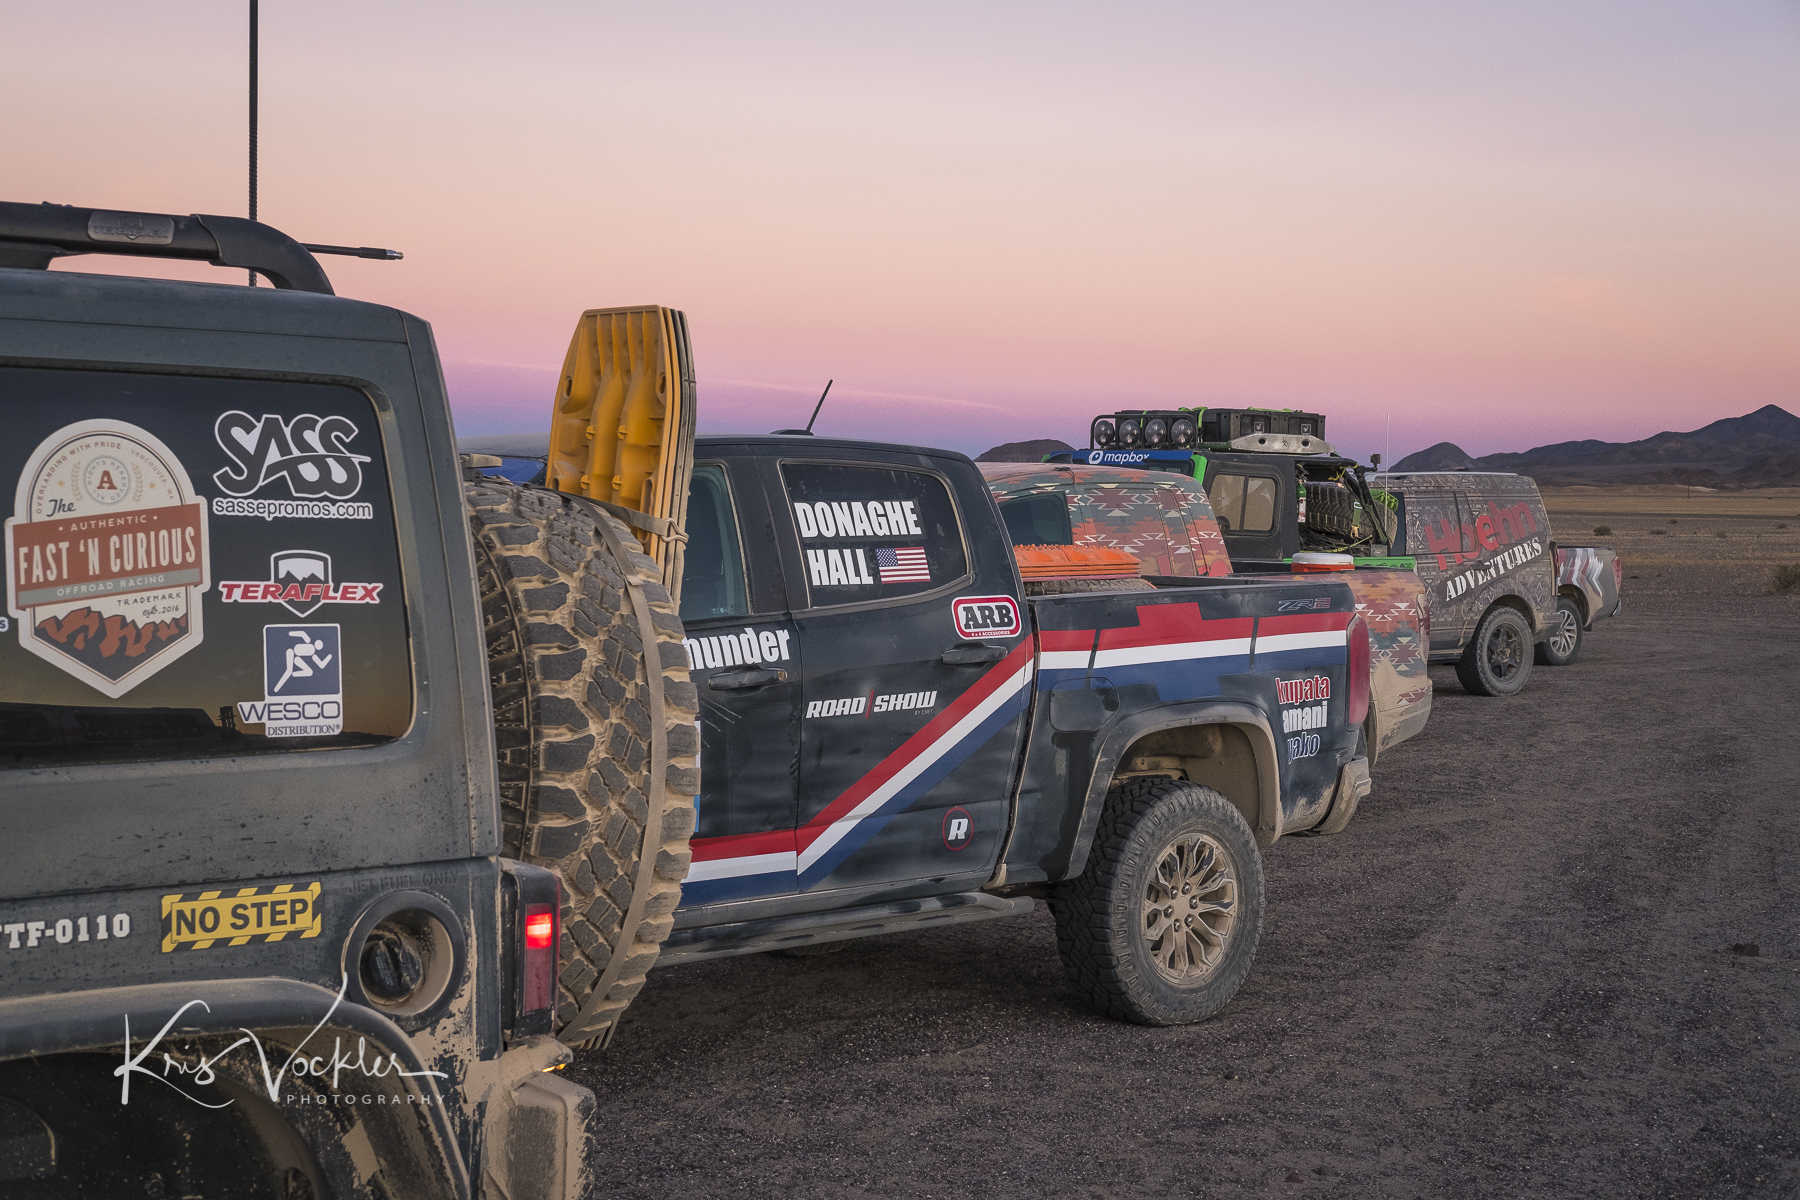
Below is a comparison of my originally edited photo (on the right) right after this trip and one edited with Sleeklens (on the left). What's nice about this is I can already see I like the boosted mid-tones of the Sleeklens edit. But the saturation of the Sleeklens version is a little hotter than I remember. As you can see, the presets have given me some ideas that may improve what I already felt was a pretty good shot.
Edited with Sleeklens Through the Woods workflow.
Edited by feel and memory of the day.


